Create a Document Template
If you have one or more document(s) that are used many times (e.g., for onboarding, exit interviews, open enrollment, audits), you can turn it into a template for others to use. To do so:
-
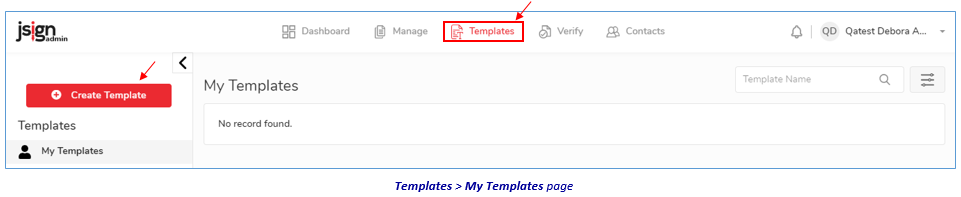
Click the Templates link in the jSign header, then the Create Template button.
-
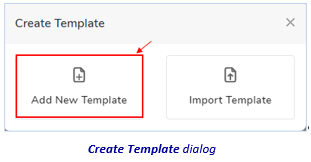
Click the Add New Template tile in the Create Template dialog.
-
Then, on the:
-
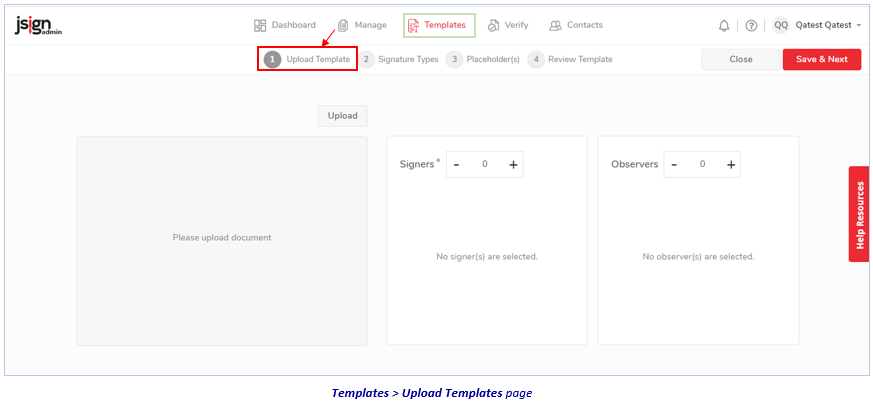
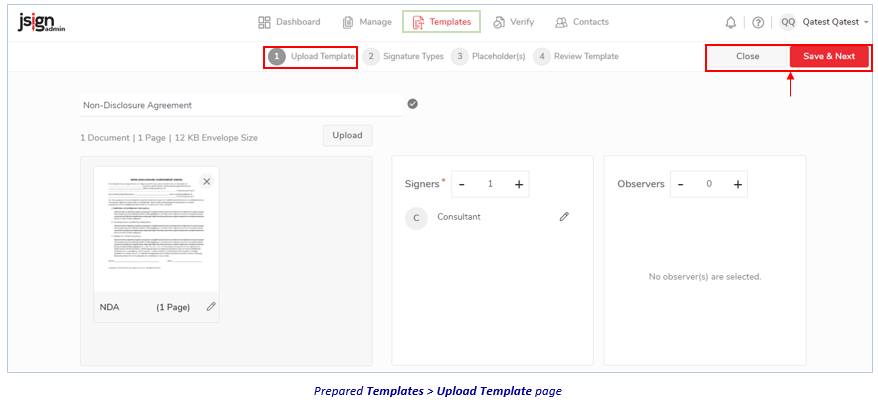
On the Templates > Upload Template page:
-
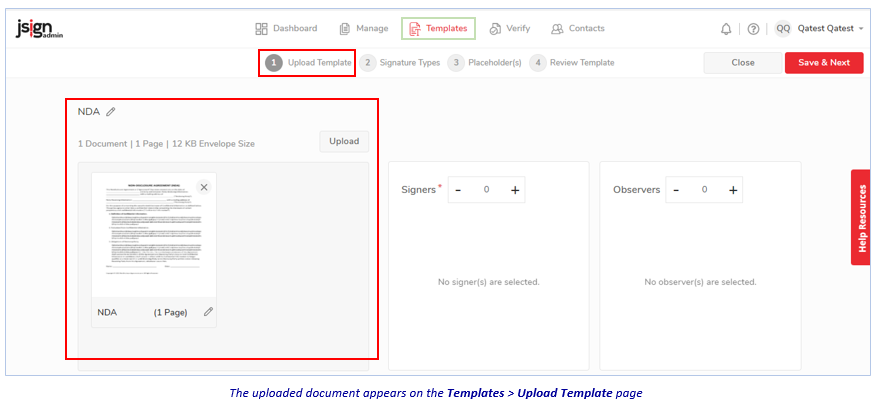
Click the Upload button, and upload your document from your PC or one of the other repositories.
-
Click the Upload button again for other documents you want to add to the template (and if needed, click X to remove a document.
-
To change the name of the template: Click its pencil icon, enter a new name, then click the checkmark to exit.
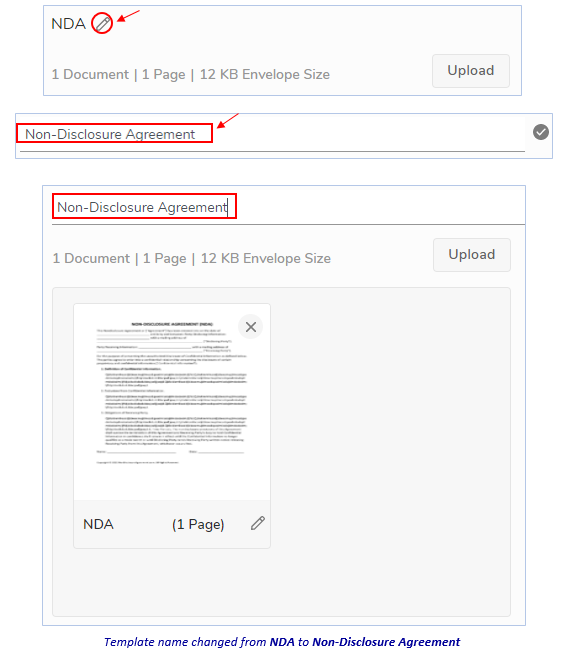
-
To change the name of any document in the template: Click its pencil icon, enter the new name, then click the checkmark to exit.

-
Then, in the Signers pane: Click the plus (+) sign to indicate how many individuals will sign the document.
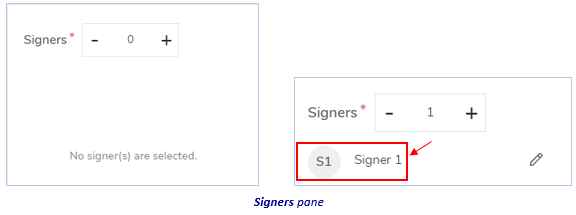
…and If you wish to change the Signer label: Click the pencil icon (changes to a checkmark), and enter the signer’s role/position (e.g., Employee, Auditor, Vendor). Then click the checkmark (changes back to a pencil icon) to save it.

-
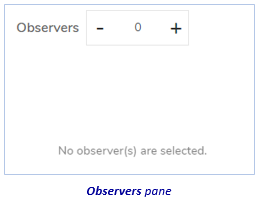
In the Observers pane: Follow the same instructions as stated for the Signers pane (step e., above).
-
Then, click Save & Next—or Close—in the upper-right corner of the page.
If you click:
-
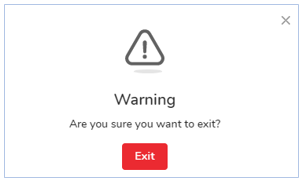
Close – Click the Exit button in the Warning prompt to return to the dashboard without saving the template.
-
Save & Next – The Templates > Placeholders page appears (see below).
-
-
-
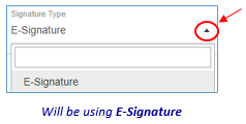
On the Signature Types page: The E-Signature tile (currently, the only type) is selected by default. Click Save & Next—or Close— in the upper-right corner of the page.
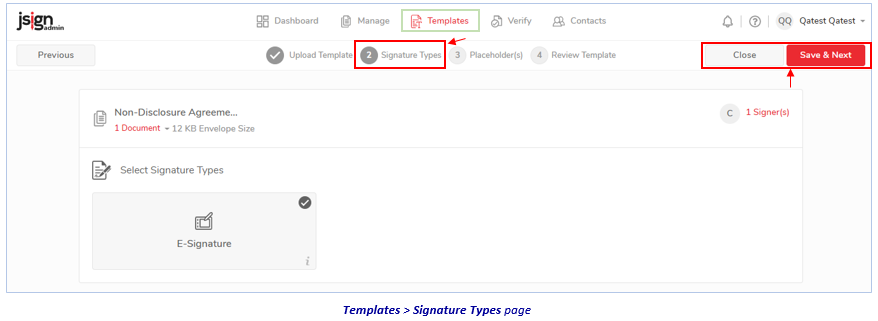
If you click:
-
Close – Click the Exit button in the Warning prompt to return to the dashboard without saving the template.

-
Save & Next – The Templates > Placeholders page appears (see below).
-
-
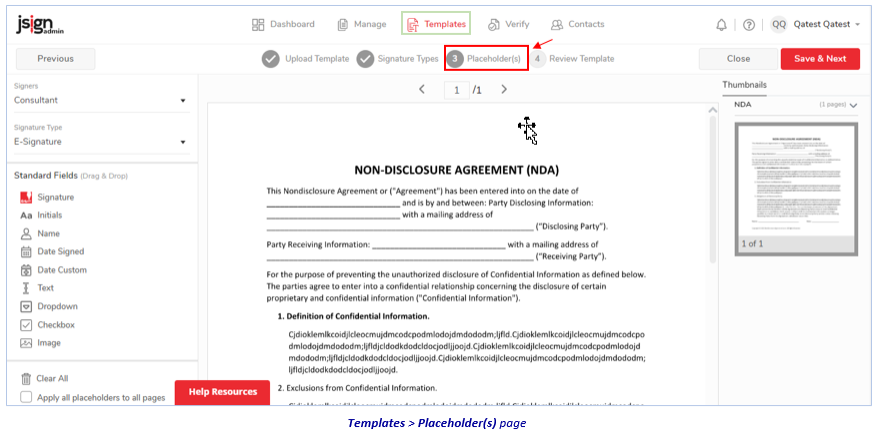
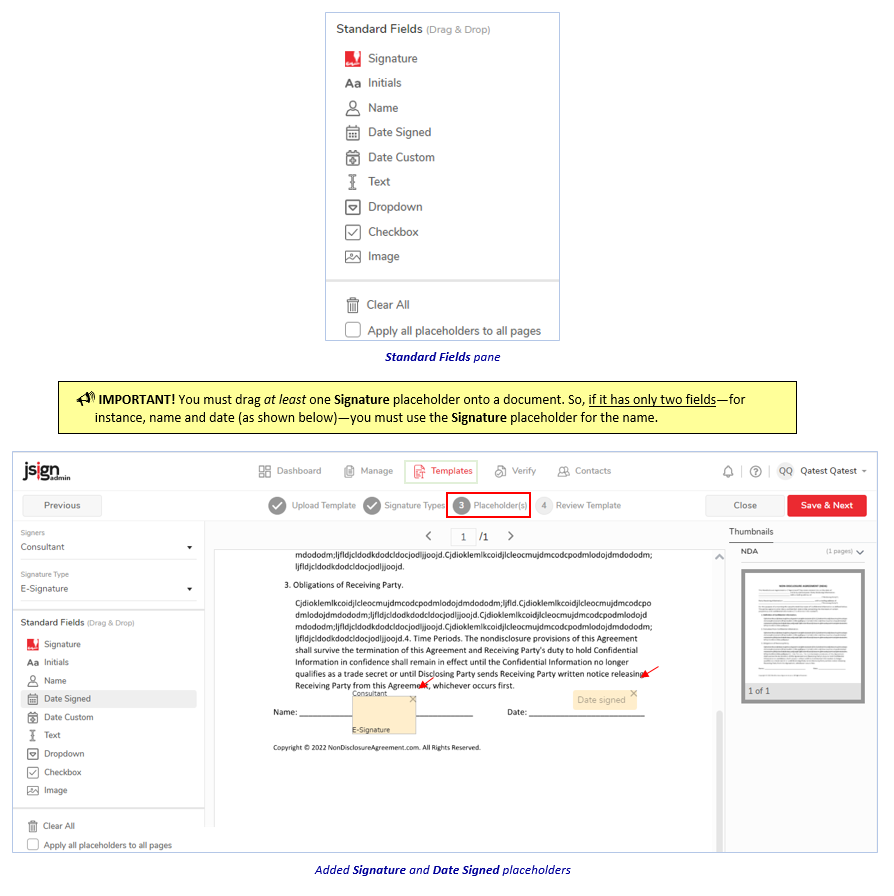
On the Templates > Placeholder(s) page:
-
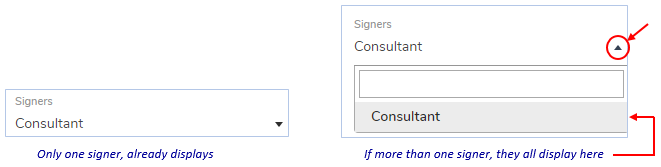
Click the Signers drop-down arrow, and select a signer. (It appears in the textbox.)
-
Ensure the signature type you want displays in the next textbox. (Currently, just E-Signature.)
-
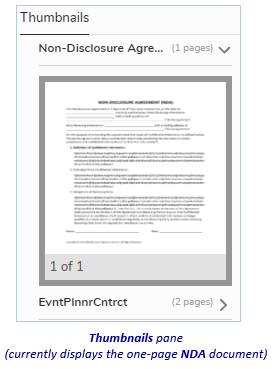
On the right side of the page, under Thumbnails: If the document displayed has more than one page, select the page on which you want to enter the signature/other placeholder(s).
-
Then, from the left: Drag the fields you want to add, onto the template. (For detailed instructions, see steps 4-6 in "Indicate Who/Where to Sign" (part of Prepare and Send Document(s) for Signature).
-
If there are other documents to be signed: In the Thumbnails pane, click the document’s dropdown arrow to display its pages...
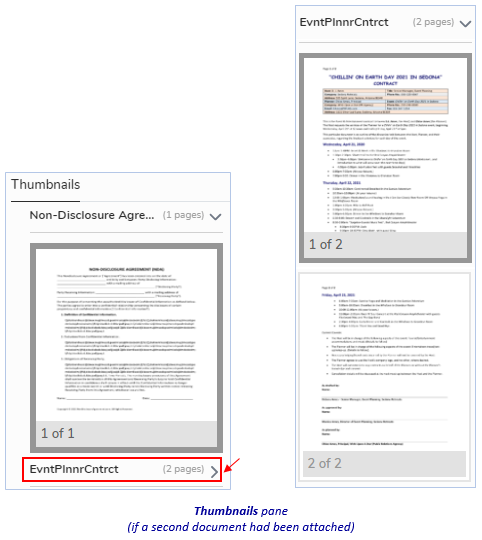
…and follow the same instructions stated in steps a. through d. above.
-
When done, click Save & Next—or Close—or in the upper-right corner of the page.

If you click:
-
Close – Then, at the Warning prompt, click the Exit link, to return to your dashboard without saving the draft.
-
Save & Next – The Templates > Review Template page appears (see below).
-
-
-
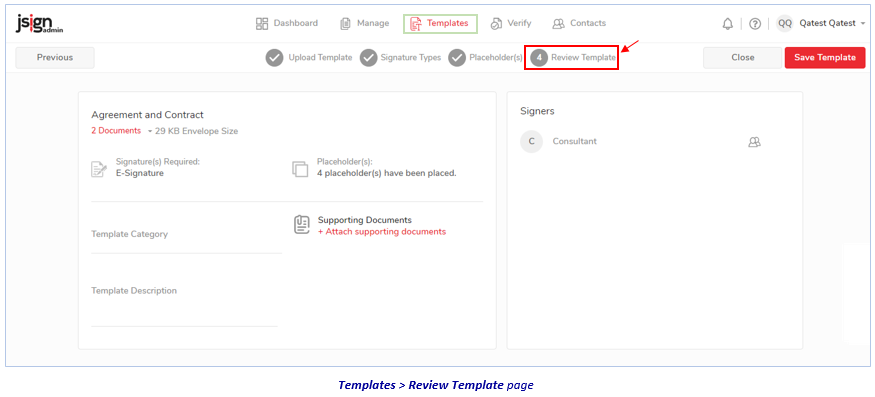
On the Templates > Review Template page:
-
If you wish:
-
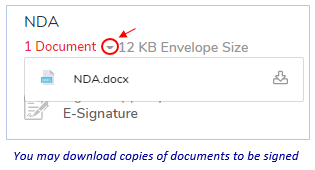
Click the drop-down arrow next to the number of documents included in the envelope, and download them if you wish.
-
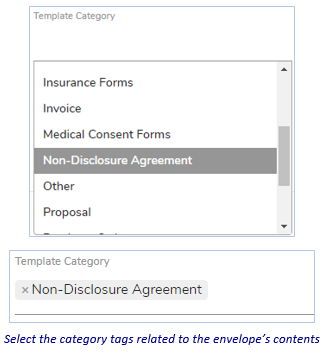
Click the Template Category textbox, and select relevant tag(s).
-
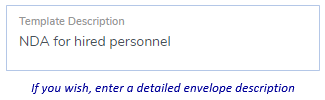
Click the Template Description textbox, and enter any details.
-
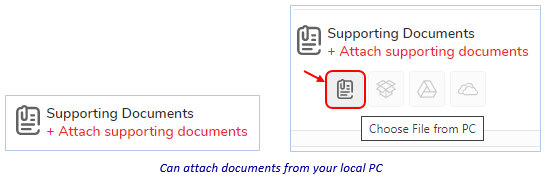
Click the Attach supporting documents link, then click the Choose File from PC icon to navigate to and attach any other documents (e.g., cover letter, receipts, etc.; up to 10 attachments).
-
-
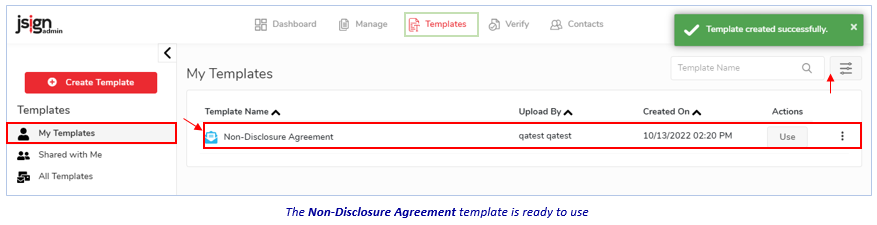
Click the Save Template button. The template appears on the Templates >My Templates page, ready for use.
-
-
Related Topics